Protein Pancakes

When it comes to breakfast, I choose sweet over savory every time. Like, if I’m going out for breakfast I’m almost always struggling to choose between the pancakes, french toast, or waffles 🙈. I stuff my face with carbs, butter, and sugary syrup, then all I want to do after is go into a major food coma.

Salty Blondes | Protein Pancakes

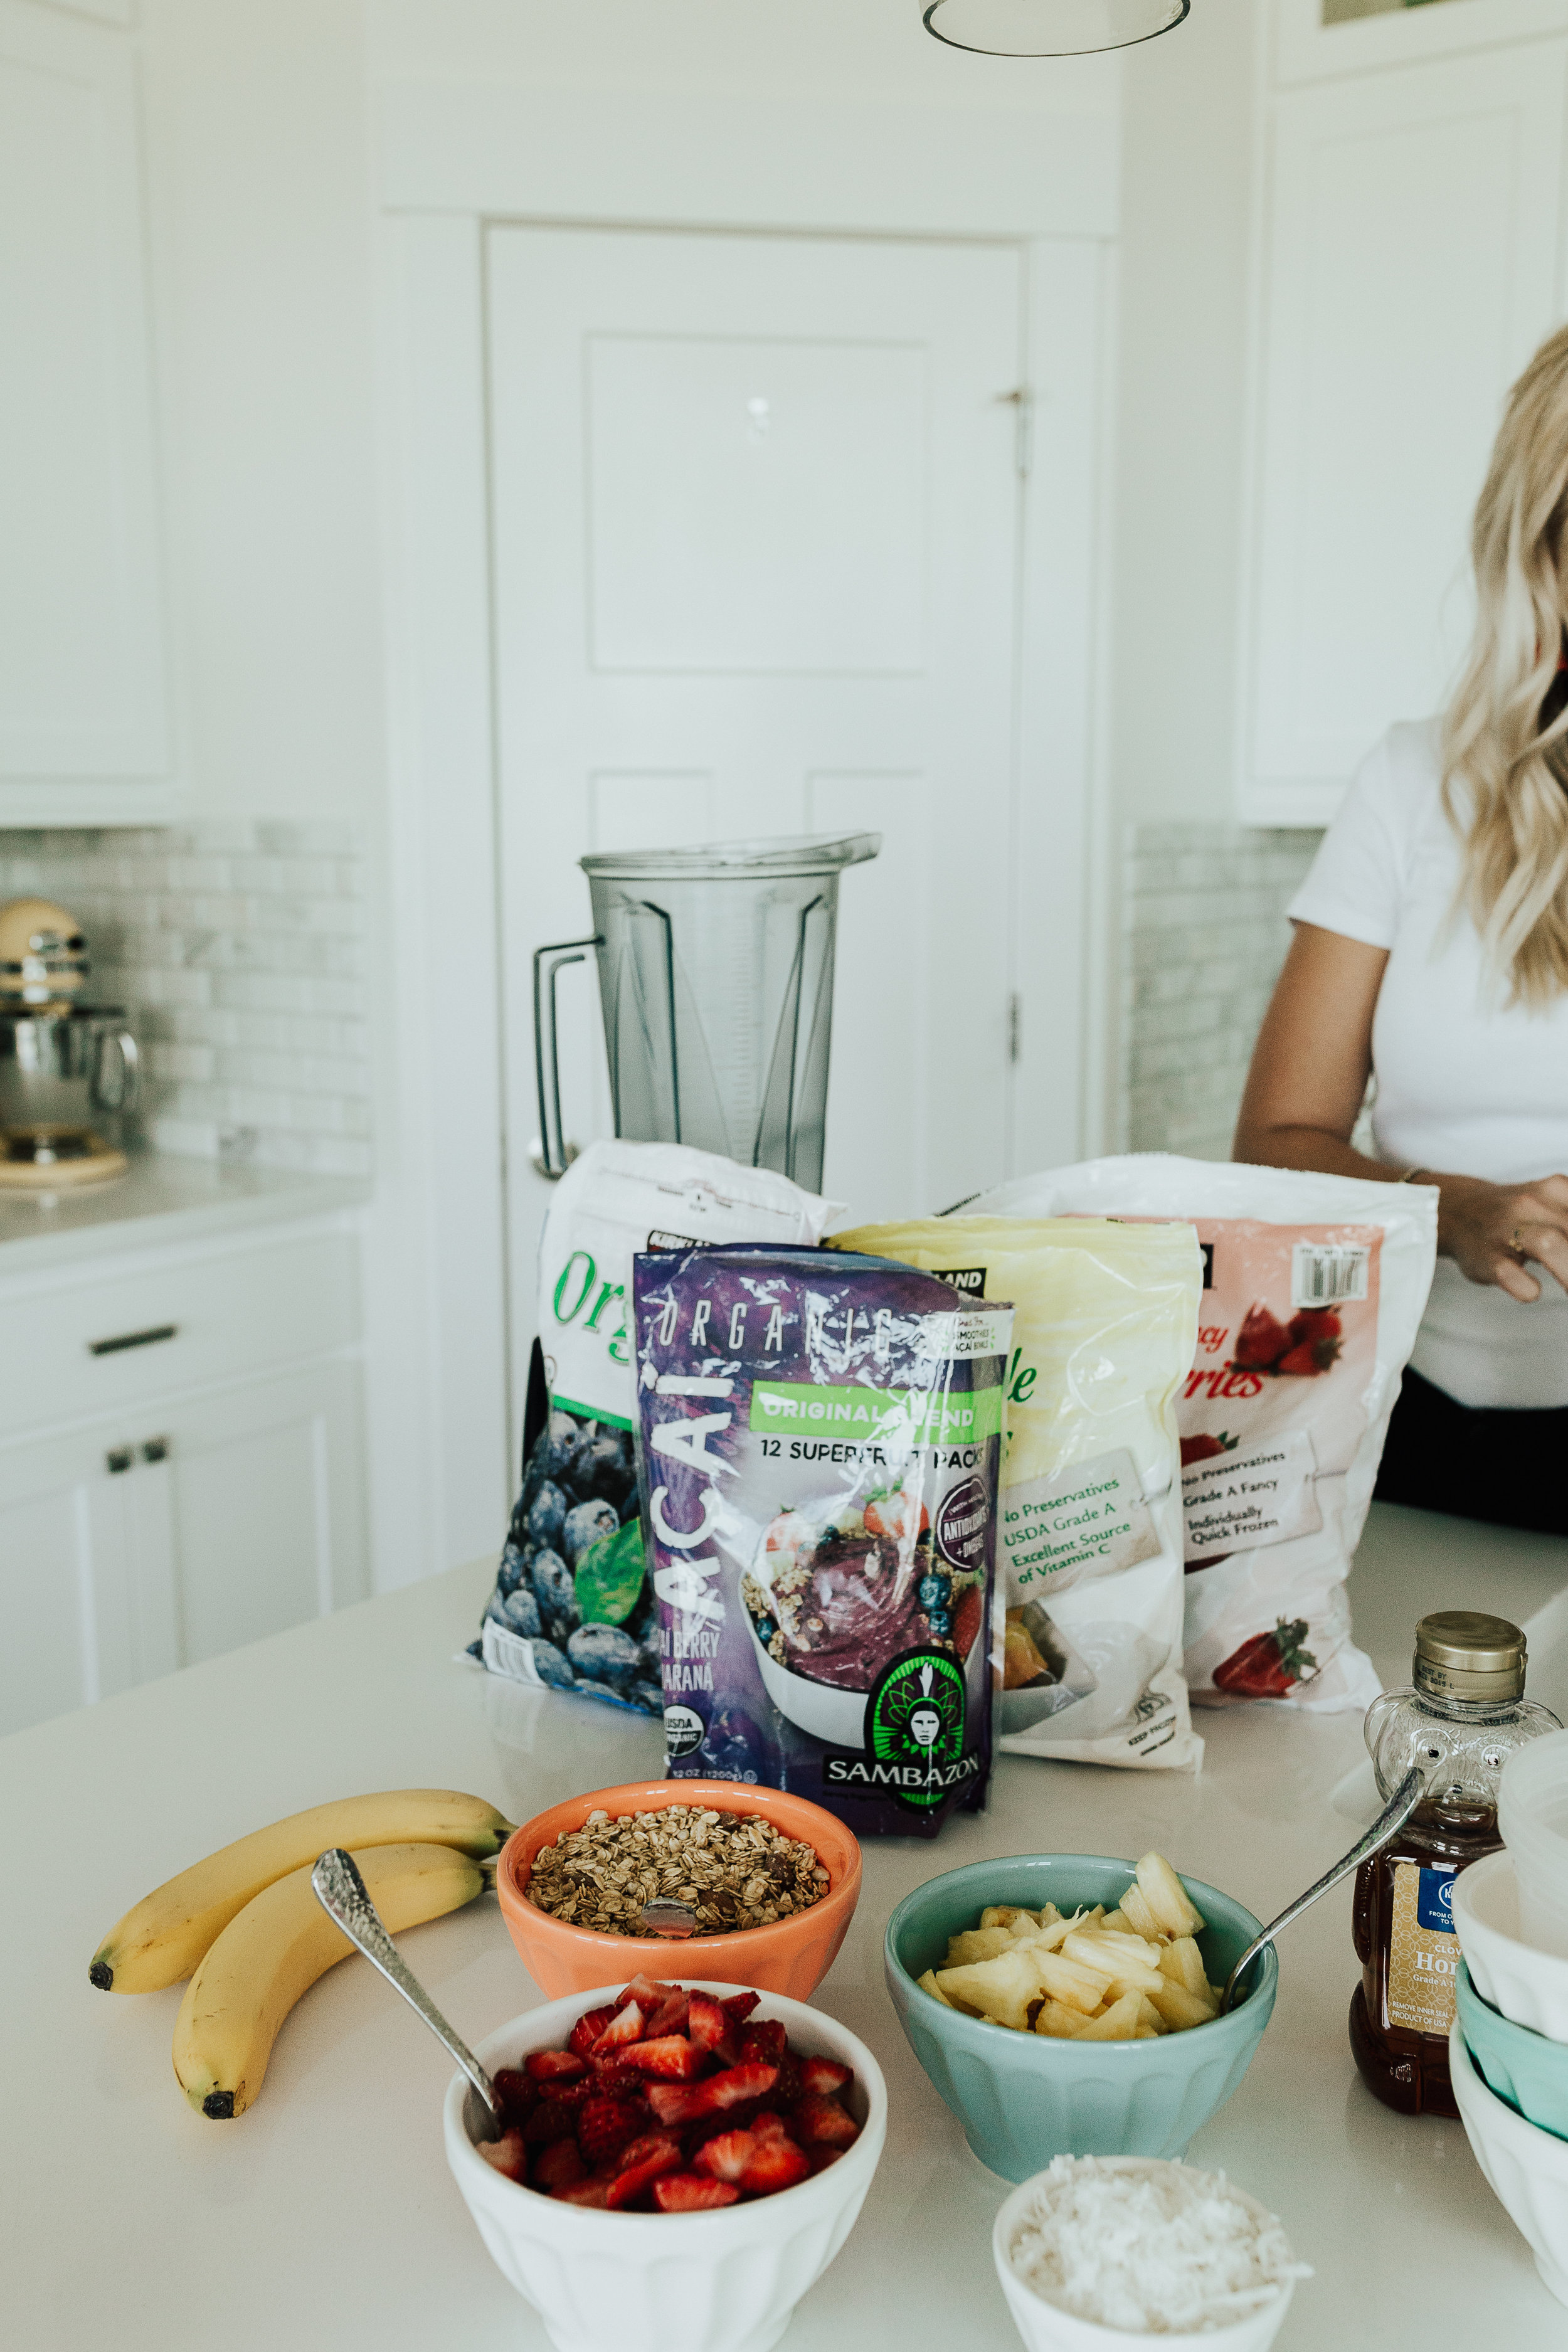
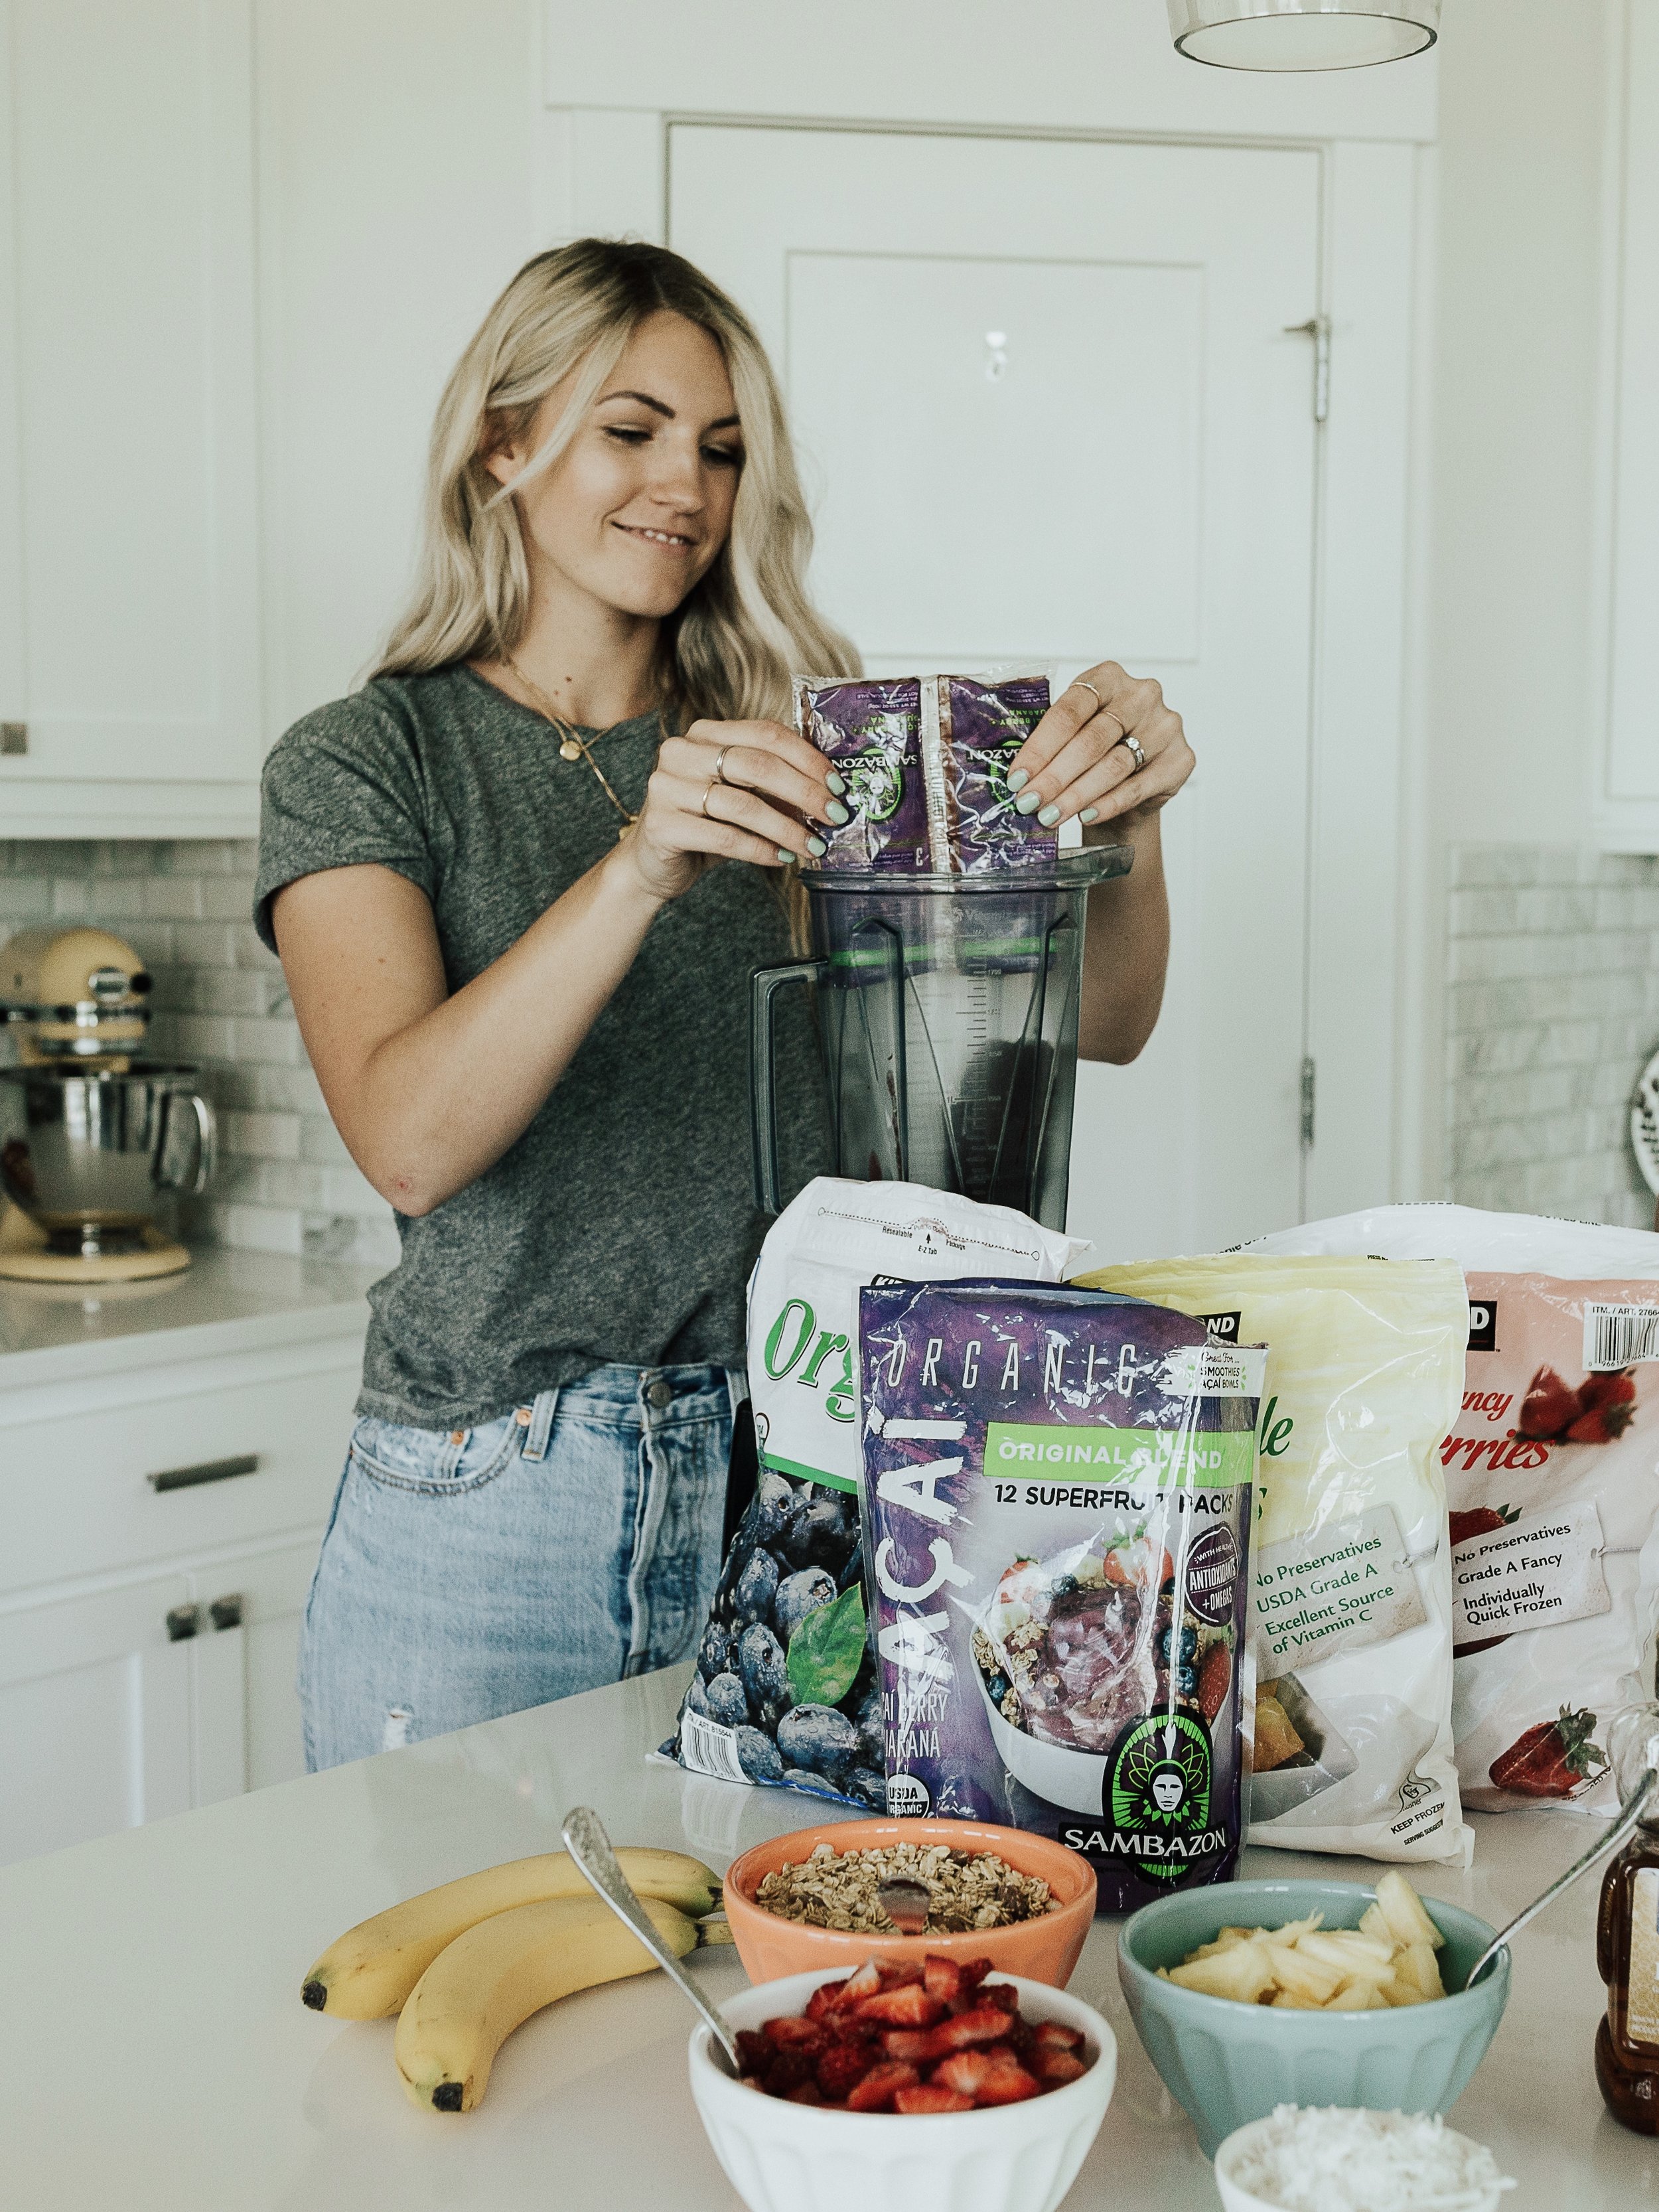
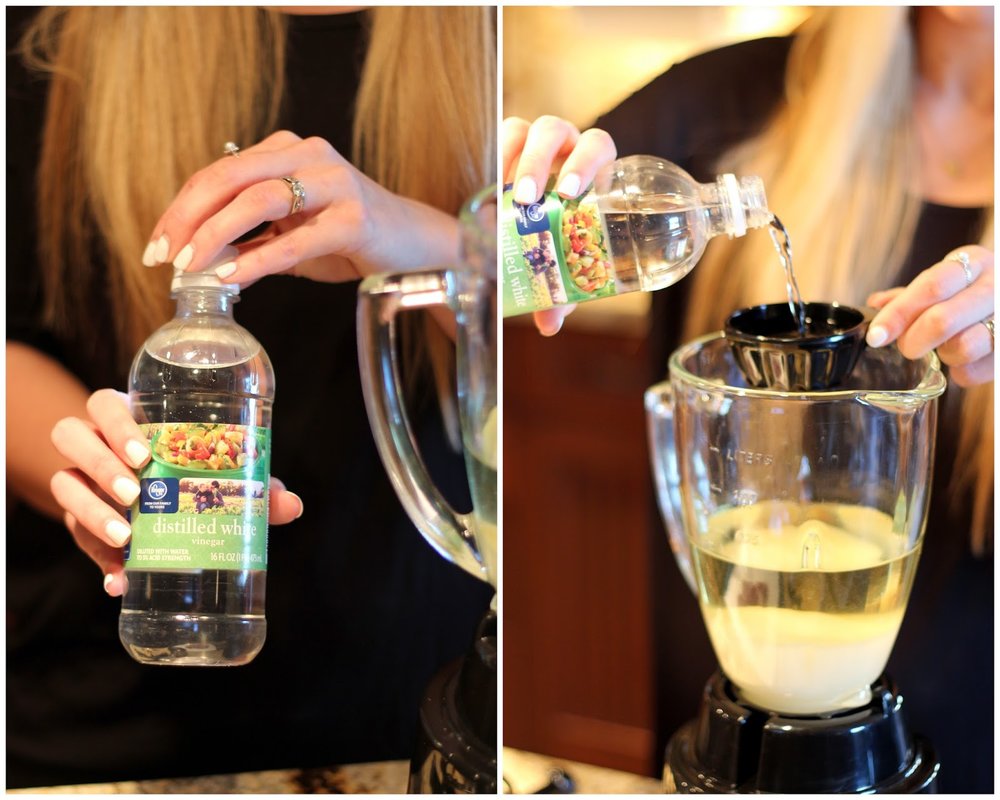
Now, I’m not saying I will, or even want to, change my ways. I enjoy every second of those delicious carbs and I probably will always choose sweet, carby goodness over a veggie omelet. Luckily I don’t go out to breakfast all that often, and when I’m home I’m usually too lazy to make myself a big breakfast in the mornings. I do, however, still love a good pancake, and, fortunately, these protein pancakes are light, pretty healthy, and don’t leave me feeling like I need a nap immediately after I eat them. They’re also SO yummy and really easy to make. All you need is a list of simple, everyday ingredients and a blender!

Salty Blondes | Protein Pancakes

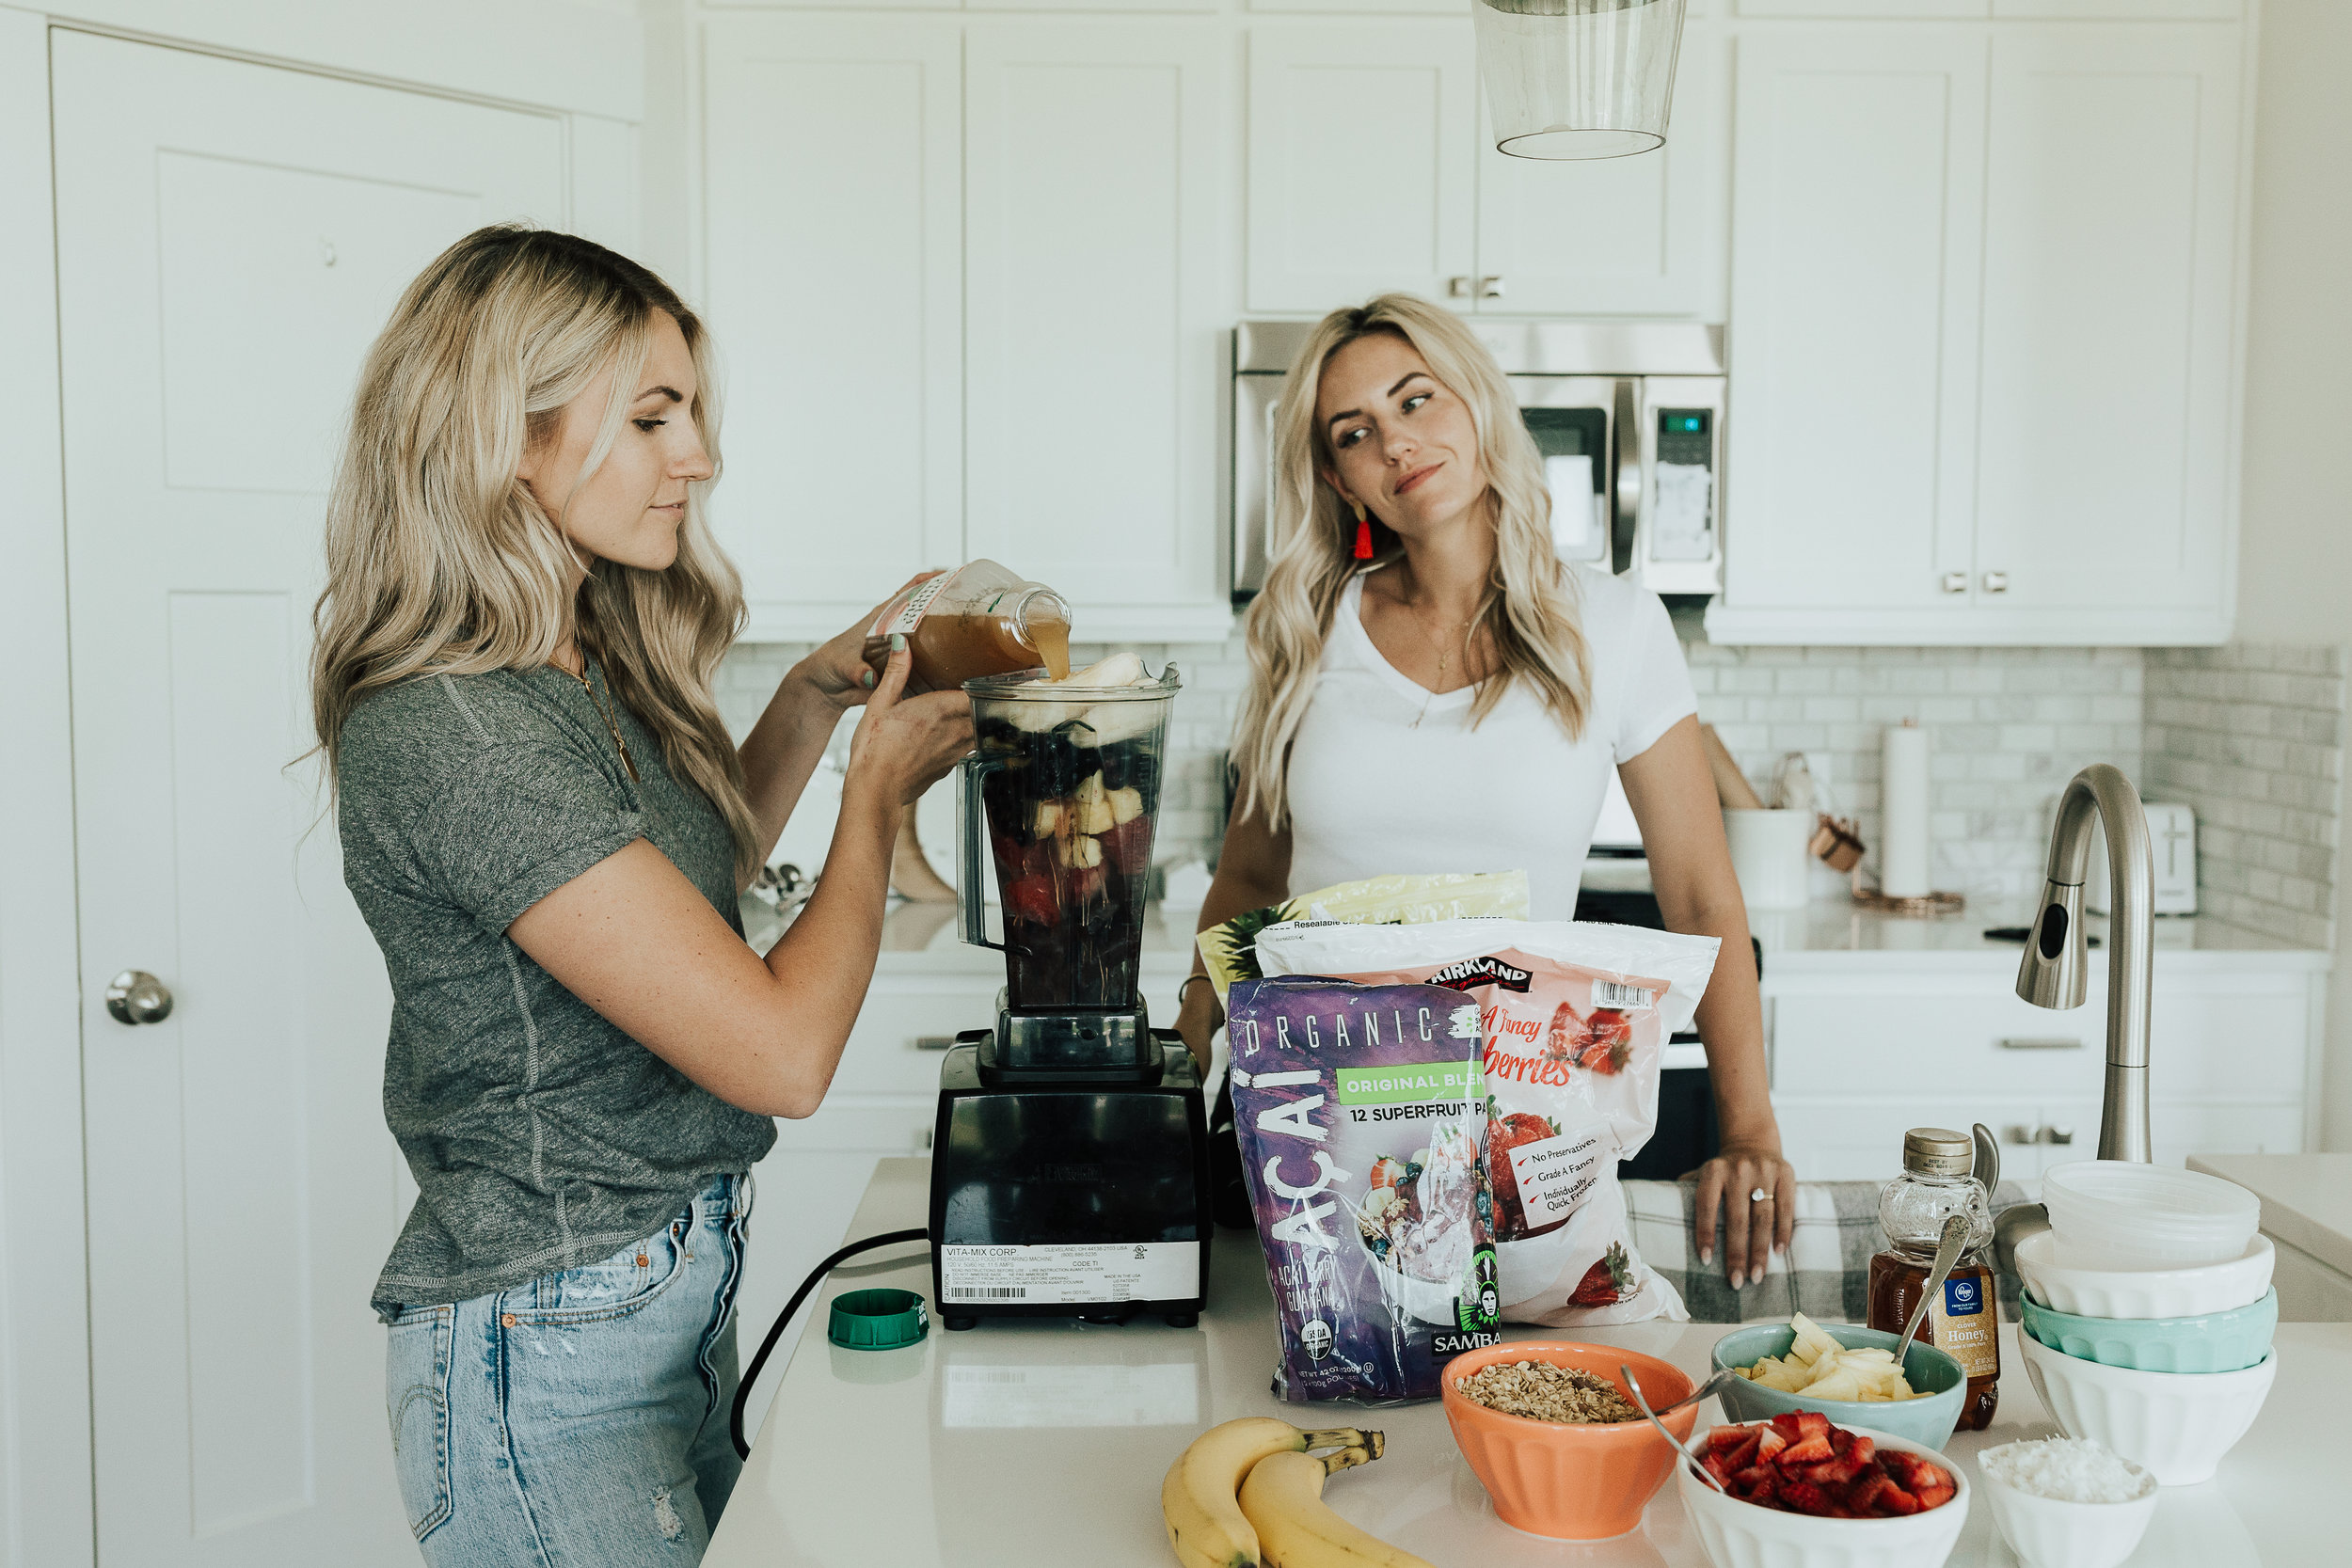
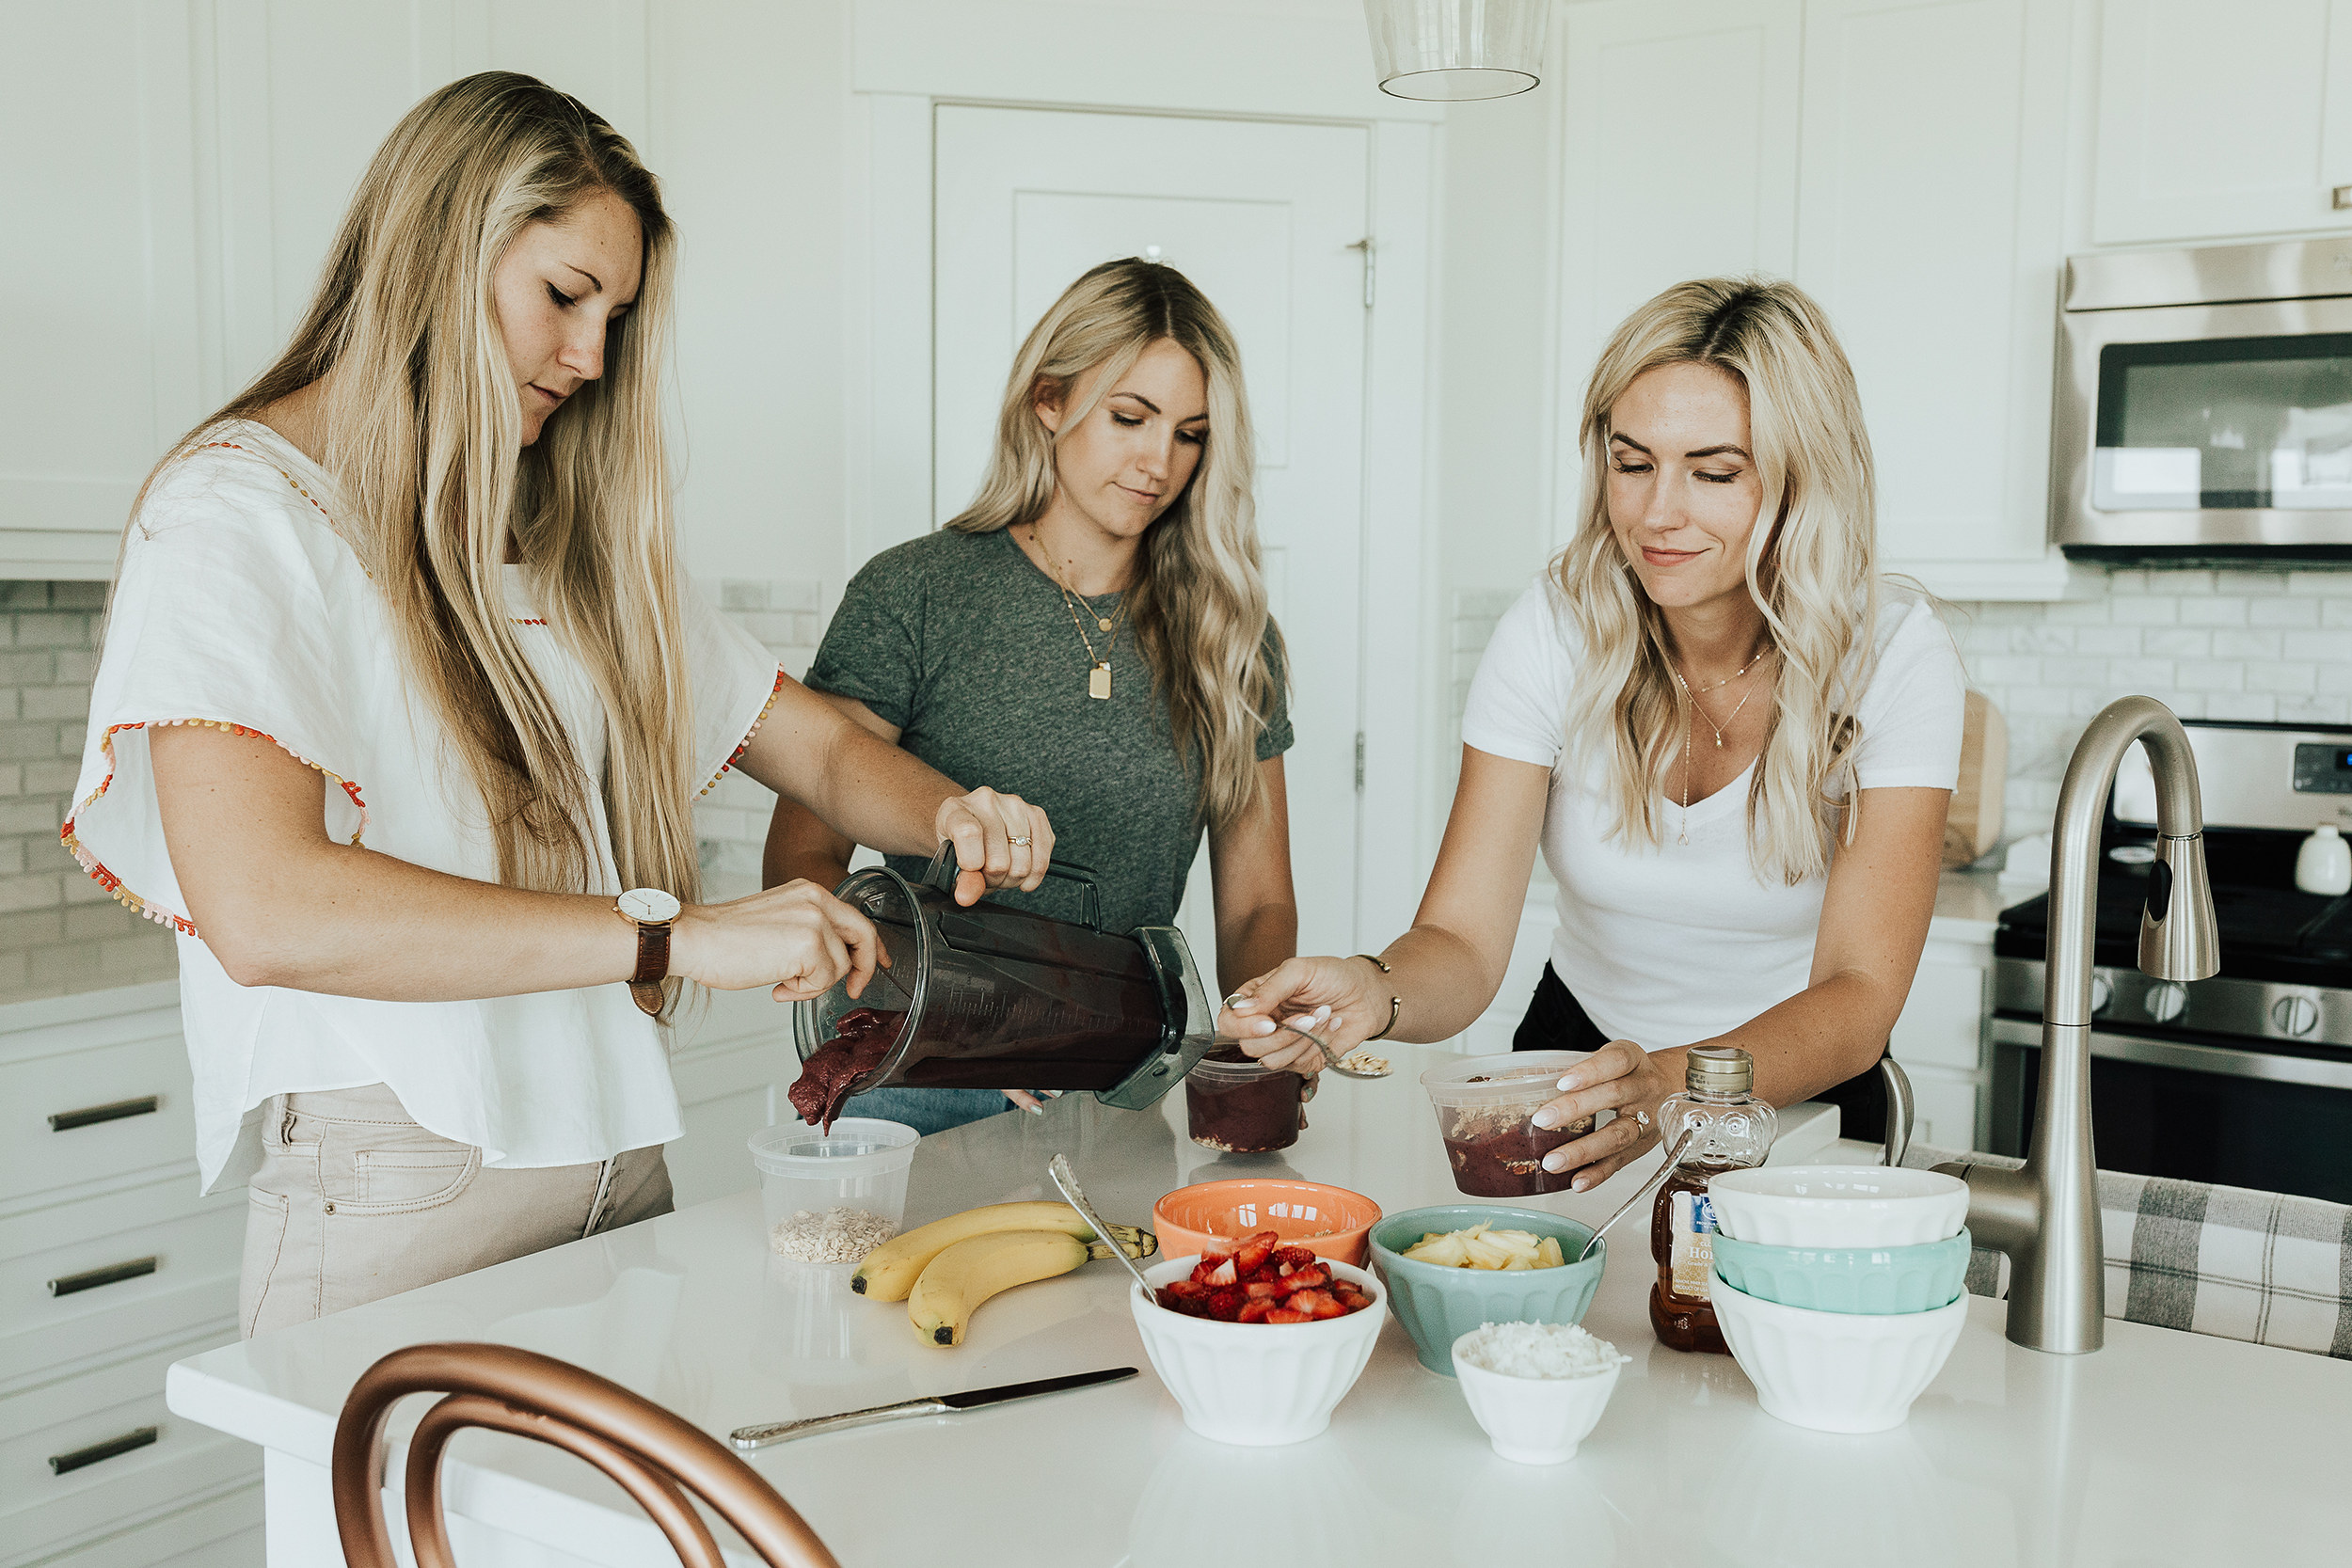
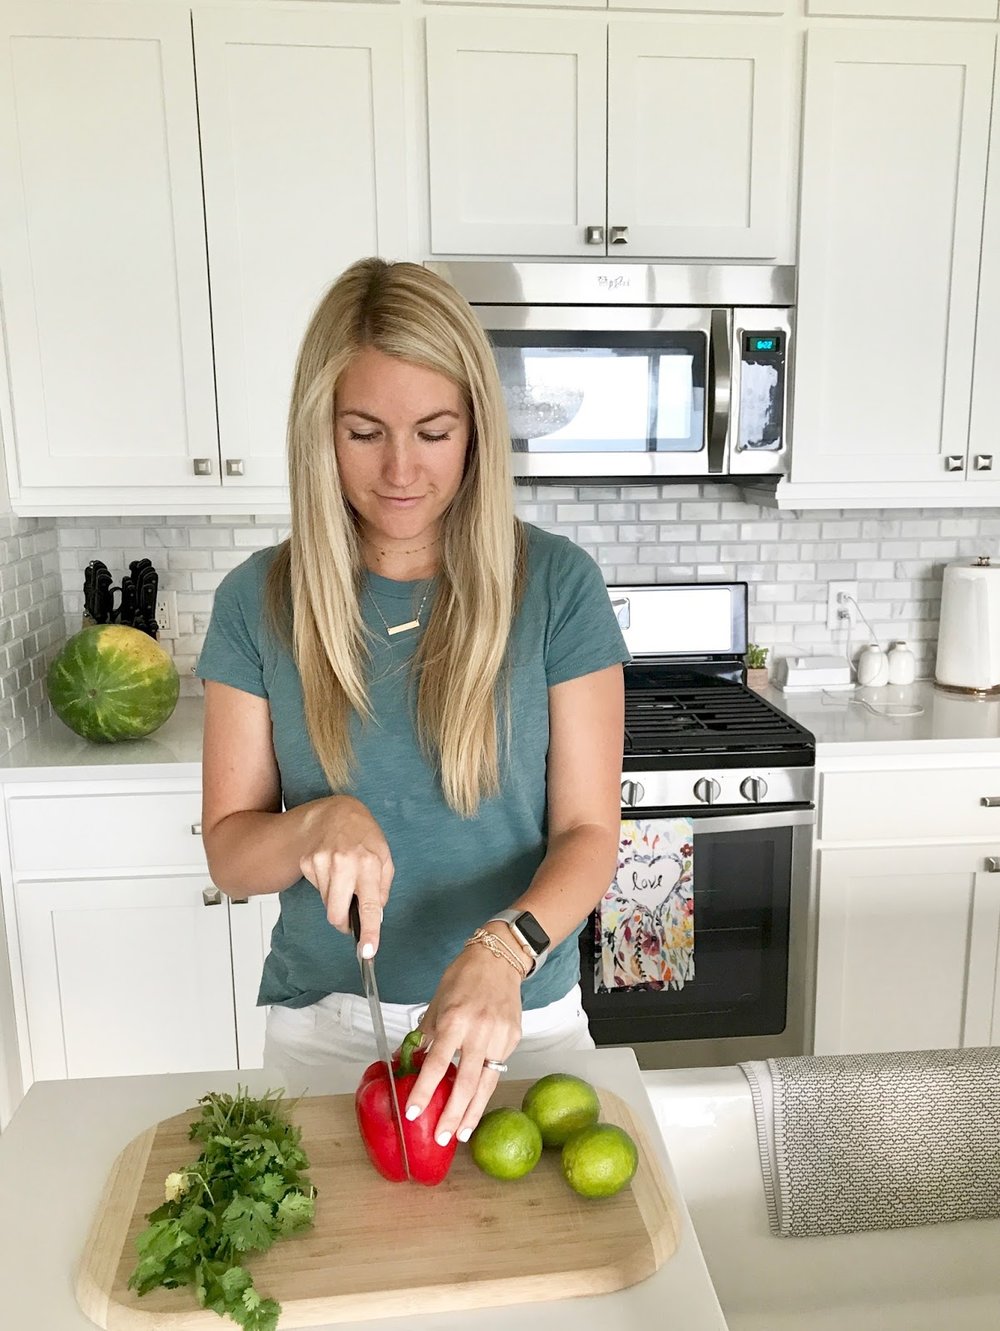
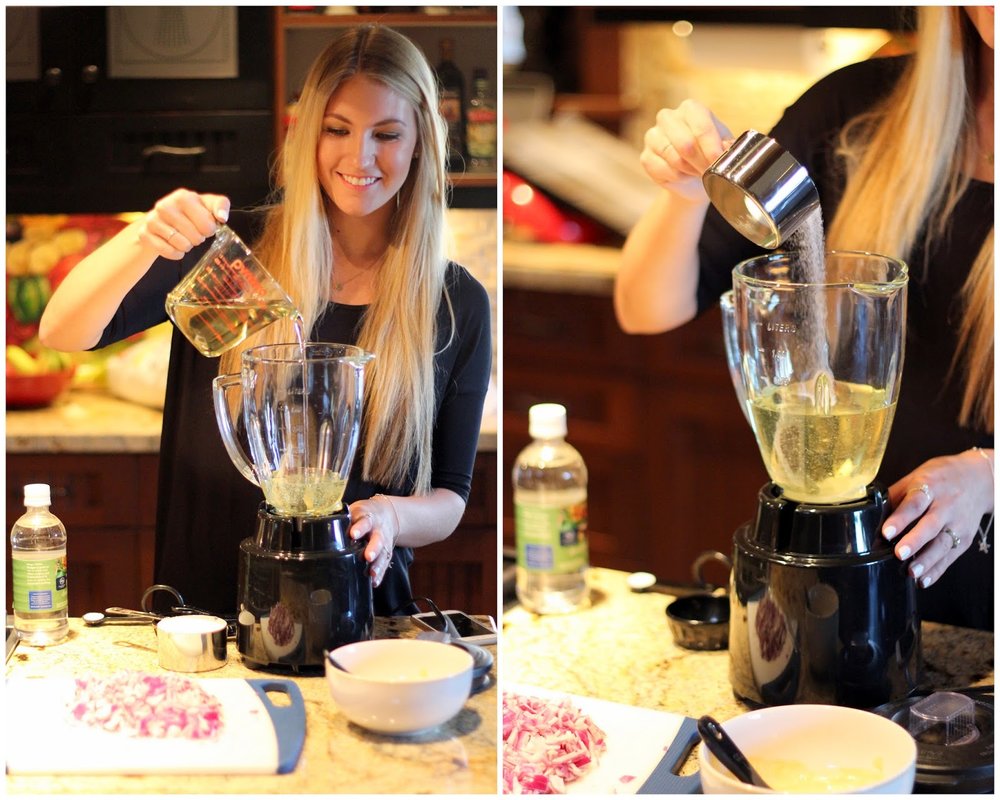
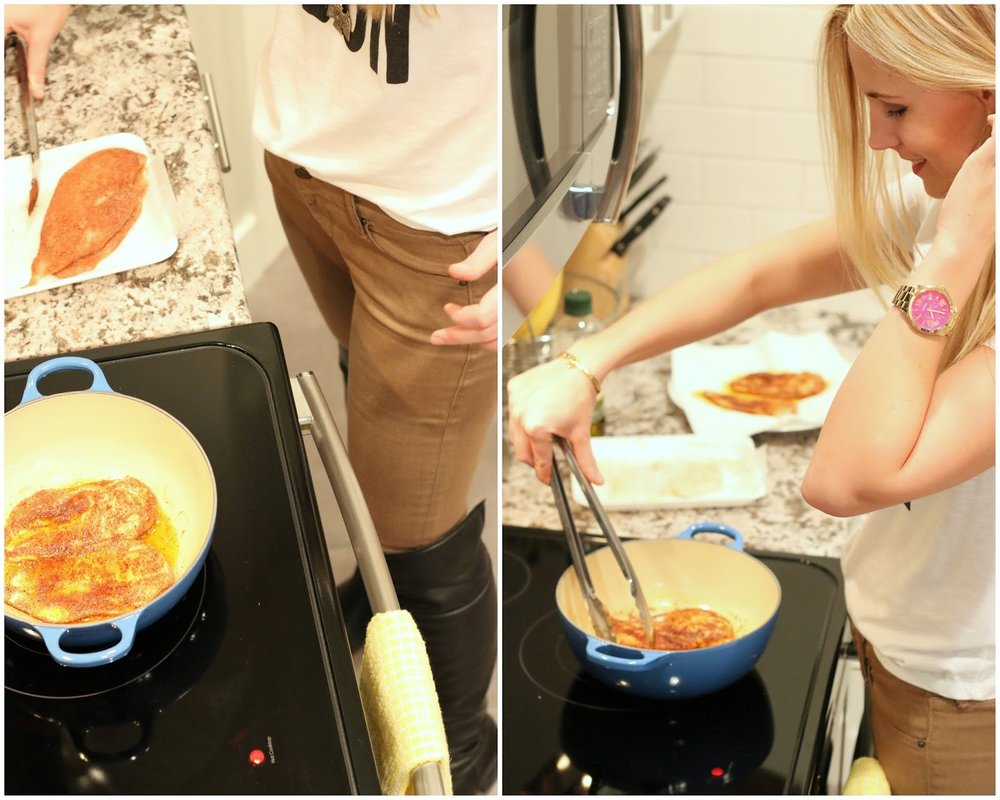
How cute is my little pancake flipper helper? 😍 There really are no fancy ingredients or directions for this recipe. You mix everything up in the blender, and pour the batter onto a griddle. Scroll down for the recipe. You can easily double, or even half it. They always turn out! P.S. I like to drench the griddle in butter when cooking these. Maybe that’s why they taste so good. Haha.

Salty Blondes | Protein Pancakes

Cottage Cheese Protein Pancakes

ingredients

Ingredients
  • 3 eggs
  • 1 Cup cottage cheese
  • 1 teaspoon vanilla
  • 2 Tablespoons honey or agave
  • 1/2 Cup flour
  • 1 teaspoon baking powder
  • 1/4 teaspoon salt

instructions

Directions
  1. Blend all ingredients up in a blender. Pour 1/4 cup of batter at a time onto a griddle.  Cook and serve warm.

Pin this post:

Salty Blondes | Protein Pancakes

Vegan Creamy Garlic Red Pepper Zoodles

A vegan recipe (minus the parmesan shavings topping) that’s easy to make and delicious! What more could you ask for? This recipe is a great side dish for dinner or light lunch or snack during the day! So yummy!

Salty Blondes | Vegan Zoodles

To make this recipe even easier, I buy the zoodles already spiralized at Harmon’s (get the big pack!), but the recipe calls for 4 zucchini :) We originally got it from Pinch of Yum!

Salty Blondes | Vegan Zoodles

The first time I made this recipe, the hardest part was peeling the skins off of the 3 roasted red peppers. I realized I hadn’t roasted them long enough because I was worried about burning them. But the second time was much easier! Roast each side under the broiler until they literally have black spots all over each side and they’ll be much easier to peel!

Salty Blondes | Vegan Zoodles

If you DO use the the pre made zoodles, you won’t need to use all of the sauce as the recipe makes too much for the zoodles. Just pour it over until they’re covered :)

Salty Blondes | Vegan Zoodles

Top this delicious dish with salt and pepper and whatever else sounds good! We used parmesan shavings, but goat cheese would be yummy too! If you want to keep it vegan, you could use spiced nuts or basil. The full recipe is below!

Salty Blondes | Vegan Zoodles
Yield: 4

Vegan Creamy Garlic Red Pepper Zoodles

Calories Per Serving: 198

ingredients:

Creamy Roasted Pepper Sauce
  • 3 red bell peppers
  • 1 cup almond milk (I prefer Almond Breeze Almondmilk Cashewmilk blend because it’s a little creamier than most)
  • 1 tablespoon olive oil
  • 1 teaspoon salt
  • 1 clove garlic
  • 1/4 cup tahini or almond butter for thickening
Zucchini Noodles
  • 1 tablespoon olive oil
  • 4 zucchini, ends cut off and spiralized or cut into ‘noodles’
  • salt to taste

instructions

Directions
  1. ROAST THE PEPPERS: Place the bell peppers on a foil lined baking sheet. Turn on the broiler and roast the peppers on the top level, close to the heating element. When black spots appear, turn the peppers and continue to roast until all sides have been blackened. Let cool and pull off blackened skins and remove ribs, seeds, and stem.
  2. MAKE THE SAUCE: Add the 3 roasted bell peppers to a blender with the rest of the sauce ingredients and blend until smooth.
  3. ZUCCHINI NOODLES: Heat a large skillet over medium high heat. When the skillet is hot, add the olive oil and onion – sauté for a minute or two until the onion is softened but not browned. Add the zucchini noodles to the skillet. Sauté using a pair of non-stick tongs to toss the noodles. Just as the zucchini noodles begin to soften, but before they start shedding water, sprinkle with salt and add the sauce and cook just until the sauce is heated. When in doubt, my leaning is to undercook these!
  4. SERVE: Adjust the salt to your taste, and serve immediately with any toppings you might like, such as: parsley, Parmesan, goat cheese, truffle oil, that sort of thing.

Pin this post:

Salty Blondes | Vegan Zoodles

DIY Acai Bowls

We recently made these for a bridal shower breakfast we hosted for our cousin, and they were a huge hit! We looked up the ingredients for one of our favorite local acai bowls, and tried to copy the recipe.  They turned out SO yummy, we knew we had to share!

_MG_4083.jpg

This was the first time we had ever made our own acai bowls, and they were super easy thanks to these yummy and convenient frozen acai packets we found at Costco 🙌🏻 

The little packets are individually frozen, and we found that each packet can make about enough for one and a half servings (depending on how much additional fruit you use).

We have a favorite spot to get acai bowls, and find ourselves there way too often spending half of our food budgets on a 16 ounce bowl of frozen amazingness. Making our own made us realize how over-priced the ones we were buying are 🙈 (BUT we will say the social aspect of still popping in to Ivie Juice Bar with friends and sitting around their cute tables still makes the $8 Beach Babe bowl totally worth it every once in a while). 

The best part is topping the acai bowls with granola, ALL the fresh fruit (we like strawberries, pineapple, and banana), lots of coconut flakes, and a little honey drizzled on top 👌🏻

Check out the simple recipe below and enjoy! 

How to Make the Perfect Acai Bowl

Pin this post:

How to Make the Perfect Acai Bowl at Home

Sidney's Black Bean Veggie Burger + Fries

Eating burgers while getting bikini body ready? Yes please! Our clean eating health nut sister (Sidney) kindly made these for all of us for dinner the other night, and they were so yummy we had to post!

Now, as a disclaimer, are these burgers juicy, Smash Burger yummy? Not quite. BUT they are delicious for a healthy alternative, and super clean! Even Regan (Mrs. Junk Food Junky) downed the whole thing (after it was smothered in mayo and ketchup, haha)!

Sidney used multi-grain buns, and topped the burger with lettuce, tomato, and hummus. She served the burgers with watermelon and oil-free, oven-baked fries! Now these were actually SO delicious.  Like, "we'd take these over In-N-Out fries any day" kind of good. 

See the full recipes below! The original recipes are from Forks Over Knives and From My Bowl

Black Bean Veggie Burgers

1 cup cooked brown rice (we used this)

1 15-ounce can black beans

½ onion, diced

¼ cup corn

1 teaspoon cumin

1 teaspoon garlic powder

¼ teaspoon chili powder

¼ cup cornmeal

2 tablespoons salsa

Preheat oven to 350º F. Lay a piece of parchment paper on sheet pan.

Sweat the onion in a sauté pan. Sweat means the moisture comes from the veggies so no oil is needed. Just remember to keep a lid on the pan. If the onions do start to stick, add a little bit of water. When onions become translucent add corn and spices. Cook for a few more minutes.

Add cornmeal, salsa, veggies, and rice to bean bowl. Mix everything together so there is an even consistency. Feel free to do this with your hands. Then form mixture into patties. A good thickness is about ½ inch and I like to make mine around 3 inches in diameter.

Place patties onto parchment paper and bake for 15 minutes at 350ºF. Flip the patties and bake for another 15 minutes. Serve between two leaves of romaine lettuce with tomato, onion, ketchup, and mustard. Or try putting the burger on a bed of fresh spinach instead of the bun…. delicious!

Oil-Free Fries

2-4 Organic Russet Potatoes, depending on size

Seasonings of Choice + Salt

Silicone Mat on baking sheet (or parchment paper)

Preheat your oven to 425F. Scrub your Potatoes clean, and peel them if desired.

Chop your fries into any shape of your choice; wedges that are between 1/2″ and 3/4″ are recommended.

Toss your Fries into a large bowl, sprinkle with any Seasonings and Salt you desire, and stir well.

Place the Seasoned Fries onto a baking tray lined with a Silicone Mat, making sure they do not touch.

Bake for 35-40 minutes, or until golden brown and crispy. Serve as desired.

Hope you enjoy(the burgers, and your bikini bod for summer ;)

Pin this post:

Salty Blondes | Black Bean Burgers
Salty Blondes | Healthy Vegan Burgers

Fresh & Easy Summer Chicken Wraps

Regan here bringing you another one of my favorite quick, fresh, and easy go-to recipes!

When Cal was in the hospital one of my friends and neighbors (thanks Meg!) brought us these and they were so yummy! They tasted so fresh and healthy and were the perfect pick-me-up after a long day of sitting in the hospital. I asked her for the recipe and have been making them often ever since, but found a way to make them even a little bit healthier!

Here's the original recipe (this blog has a lot of other yummy-looking wrap recipes that I plan on trying!).  Really the only thing that wasn't super healthy was the chipotle dressing, so I subbed a couple of things and can't tell a bit of a difference! Find my version of the recipe below.

I like to make these at the beginning of the week (sometimes I'll even double the recipe), then throw together these wraps for easy, healthy lunches.

Fresh & Easy Summer Chicken Wraps

You'll need:

Tortillas (my friend brought us a package of those uncooked tortillas and I've used those every time I've made them)

Shredded Chicken (I buy a rotisserie chicken from Costco)

Island Lime Rice (recipe below)

Chipotle Ranch Dressing (recipe below)

Black Bean & Corn Salsa (recipe below)

ISLAND LIME RICE

1 C. Jasmine long-grain rice

1 C. cold water

½ C. chicken stock

1 T. butter

½ t. salt

¼ C. cilantro- chopped

2 T. lime juice

1. In a large sauce pan bring the water and chicken stock to a boil.

2. Add the rice, butter and salt.

3. Cover the pan and reduce the heat to low. Cook for 20 minutes.

4. When the rice is cooked, fluff then stir in the cilantro and lime juice. Mix well.

BLACK BEAN SALSA

1 Can black beans; drained and rinsed

1 C. frozen corn; thawed and drained

1 small or ½ large red pepper; diced

Zest of 1 lime

2 T. lime juice

3 T. cilantro; chopped

1 jalapeno; diced

1 t. salt

½ t. pepper

1. Mix all ingredients together to form the salsa.

CHIPOTLE RANCH DRESSING

1 pkg. Hidden Valley Ranch Dressing mix

1 C. plain Greek yogurt (I use low fat)

1 C. milk

1 Chipotle Pepper (or two if you like extra spicy like us) with 2 T. Adobo sauce (from 1 can of Chipotle Peppers packed in Adobo sauce. You can find these in the Mexican section at most supermarkets.)*

1. In a blender pour the milk and the ranch dressing powder. Mix on high until well blended.

2. Add the Greek yogurt. Blend on high again for a few seconds.

3. Add 1 chipotle pepper and 2 T. of Adobo sauce from the can. Blend again until the dressing comes together.

4. Allow to set up in the refrigerator for at least 30 minutes.

We kind of stuff ours and the tortillas we use aren't huge, so these look more like tacos than wraps but just go with it ;)

If you make these, let me know how you liked them in the comments below!

Pin this post:

Salty Blondes | Summer Chicken Wraps

Refreshing Summer Smoothie

Is there anything better than a cold, refreshing smoothie on a hot summer day? This orange vanilla smoothie has been mine and my husband's recent obsession! Whether I make it for us early for breakfast, or blend it up late at night when we're craving a treat, it always satisfies.  

At this point my snapchat friends are most definitely sick of hearing about this smoothie, but after many requests for the (very simple) recipe, I thought it was time to share!

Easiest recipe ever:

- 3-5 frozen clementines/cuties/tangerines

- 1/2 to a whole frozen banana

- 1 serving of vanilla greek yogurt

- Orange juice

- Splash of vanilla extract

We buy a bag of clementines usually from Costco and peel them all, then freeze them in a ziplock bag.  Same with the bananas :)

If you're feelin' healthy (AKA if you're like me and realize you haven't eaten a single vegetable and it's 10pm at night), add a giant handful of spinach to the recipe.  You can't taste it and it makes you feel....just really healthy and refreshed!

Now...give me one of these while laying out in the California sun on the beach and we're golden.

Sidney's Healthy Chocolate/Banana/Peanut Butter Ice Cream

Sid here. So, last month my team did a no-sweet November challenge and let me tell you, the struggle was real. The hardest part for me was overcoming my ice cream addiction. Unfortunately, my husband is equally if not more addicted to this heavenly stuff. Anyways, somehow I convinced him to go without it for the month of November with me because, you know, misery loves company.

To help us cope, I made up this healthy Chocolate/Banana/Peanut Butter "Ice Cream" recipe, and it's seriously so good! Couldn't have survived without it. 

It's super simple, and I want to share the recipe with all those who are also struggling with a deep love for ice cream...or simply want to be healthier :).  The key ingredient is the powdered peanut butter, and I recently discovered my new favorite brand for helping with portion control (I might be addicted to peanut better too)..crap! 

Crazy Richards 100% Natural Peanut Butter is my new go-to for smoothies, on top of toast, or just eating plain. I like to use the powdered peanut butter for smoothies or ice cream, and I love grabbing a single serving size packet of creamy peanut butter on the go when I'm in a hurry.  

All you do to make the ice cream is:

- add 1-2 frozen bananas to your blender

- pour in a packet or one serving size of powdered (or regular) peanut butter

- about a tablespoon of pure cocoa powder

-and 1-2 tablespoons of almond milk, depending on preferred consistency

Use the pulse setting on your blender to slowly pulse while stirring with a spatula until everything is mixed (see video below). And that's it!  Sometimes I'll put it in the freezer in a tupperware for a half hour or so if I'm doubling or tripling it to make the ice cream harder.  

Stay strong over the holidays people! You will NEVER regret choosing something healthy over something unhealthy. I feel dang good when I skip the sweets and go for nature's sugar instead ;) 

Sheet Pan Fajitas and Simple Guacamole

Well, hello! Regan here :) It's been a while since we've posted a recipe (or anything for that matter...whoops!).  Please forgive us!  

Today I'm sharing our sheet pan fajita recipe.  It's one of my favorite recipes because it's quick, easy, delicious and healthy!  My four favorite things in a recipe!  These fajitas are made in the oven and everything cooks together in one pan...genius!

Here are the simple step by step directions.  Scroll to the bottom for the full printable recipe!

Start by cutting up your peppers and onion.  Then thinly slice some chicken breasts. 

Then in a small bowl, stir together some olive oil and your spices!

Add your chicken and veggies to a bowl, then toss all together with the oil and spices mixture. 

Spread out evenly on a sheet pan, and throw it in the oven. 

While it's cooking, make your guacamole and prepare your toppings for the fajitas.  

This guacamole recipe (if you'd even call it that) is mine and my husband's go-to whenever we have company over (because who doesn't love quac, right??).  We always get compliments and it's literally the easiest to make.  

All you do is mash up your avocados, add a few spoonfuls of your favorite salsa, sprinkle over some garlic salt and a little pepper, and squeeze in a little lemon juice.  There aren't any measurements, so you kind of just have to keep tasting it until it's right.  

We recently discovered this salsa from Costco...and it's a game changer.  We've been using this as the salsa for the guacamole, and it's seriously SO good.  My brothers were over the other day and said it was the best guac they've ever had.  Exaggeration?  I don't think so ;)

After about 25 minutes, your chicken and veggies should be cooked through and smelling delicious.  

Serve with guacamole, sour cream, cilantro, cheese, and whatever other toppings you want.

And indulge...without feeling guilty because it's heathy!

Side note...I found these whole wheat tortillas at the store, and they were perfect for these fajitas!  Full recipe below.  Enjoy!

Pin this post:

Salty Blondes | Sheet Pan Fajitas


Sidney's Philosophy

Sidney here! I'll be sharing some healthy recipes/quick and easy food prep tips over the next several weeks on here and on our Instagram. But first I wanted to just share a little about what my diet consists of and why. My philosophy is simple, I believe in eating a whole food, plant-based diet. Lots of:

Starches.

Fruits.

Veggies.

I believe that one of the keys to good health is eating as much REAL food as possible, the less processed the better! As a student-athlete, I am really busy and I have had to find ways to make healthy, good tasting meals that are quick and easy, for example, THINK FOODS LIKE:

Cold Cereal with Fruit.

Oatmeal.

Pancakes with Fruit.

(whole wheat, buckwheat, potato, etc.)

Vegetable and Bean Soups.

Potatoes.

(boiled, mashed, baked, steamed, etc.) (Sweet, Idaho, russet, Yukon gold, etc.)

Breads.

(whole grain wheat, rye, etc.)


Pastas. 

(wheat, buckwheat, brown rice, etc.) 

Lasagna.

(whole wheat, vegetables, tomato sauce, etc.) 

Pizza.

(whole wheat, vegetables, tomato sauce, etc.) 

Rice & Vegetable Dishes.

Beans, Rice, and Corn

Get Creative! Corn tortillas baked into chips!

Most grocery stores now have fresh, pre-cut veggies which make things way easier! You can just throw the veggies in a pan with some spices (I love Mrs. Dash) and cover for 5 minutes, add some canned beans and you've got a fast, tasty dish! I personally use onions (which create their own moisture) as the "oil" or a little balsamic vinegar and try to limit using oils. 

P.S. My favorite pans to cook with are these white ceramic pans. My sisters and I recently started using them when our grandmother got us each a couple of them, after she starting hearing that Teflon, or regular nonstick pans, are not good for you. Now, we aren't sure how true that theory is, but we do love using our new ceramic pans! They work really well and are much prettier than regular nonstick pans too ;)

Okay, now, meat. I personally don't eat a lot of meat, mostly because I ate a lot of crazy stuff while living in Indonesia and it kind of turned me off of it, haha. However, I think meat (preferably hormone and antibiotic free/grass fed) in moderation is fine. I don't think you need to eat it everyday, but eating it in moderation is perfectly okay (in my opinion). I also generally stay away from dairy because it isn't the best thing for me as a runner. It has been said that it encourages lactic acid build up in the muscles. 

I also believe that moderation in everything is key! Yes, I love veggies, but I also will eat ice cream, go out for pizza, and have midnight pancake parties with my roommates. It's all about balance and having good daily habits of eating healthy, allow for some not so healthy stuff every once and a while. 

Over the next several weeks I will be posting lots of quick, healthy recipes that actually taste good on Instagram so stay tuned!

Morning Power Smoothie

Hey guys! Paige here…just wanted to give you all a little "bump-date" and share a new favorite recipe! 

SO by week 24 of my pregnancy I had already gained 33 pounds and was really starting to stress out (average weight gain for most pregnancies is 25-35 pounds, and I still had over 3 months to go)! I was constantly hungry and my eating was pretty out of control, so I decided to turn to my own personal fitness guru/sister Sidney! I wanted help getting on a nutrition plan that would help get my weight under control, but also make sure I was getting all of the nutrients I need during pregnancy. She helped me come up with one and did not disappoint! 

Last week was my first week on the plan, and I actually LOST 3 pounds. Woohoo! I'm constantly eating HEALTHY foods so I never feel hungry, and I have much more energy throughout the day. 

My favorite thing on the plan is my morning smoothie! It's SO good and I crave it as soon as I wake up :) I'll be sharing more of my new eating plan soon, but today I want to share the recipe for this amazing smoothie that's so healthy and yummy!

What MAKES this smoothie is this amazing protein powder. It's SO good and only has 50 calories, AND 100 milligrams of caffeine :) It'll definitely wake ya up in the morning, and I love it! Click on the linked picture below to purchase.

The recipe also calls for flax and chia seeds (both optional). Below is the brand I use :)

When making this smoothie, I use a large handful of frozen spinach and kale. I buy the brand below at the grocery store, and just stick it in the freezer!

Below is the recipe. It makes enough for two and I make it for my husband and myself every morning. If you're making for one, cut everything in half!

Morning Power Smoothie:

1 Banana

1 handful frozen spinach

1 handful frozen kale

2 scoops

Mocha Cappuccino Protein Energy

1 Spoonful

Flax Seeds

1 Spoonful

Chia Seeds

1 Spoonful Almond Butter

2 Cups Frozen Blueberries

2 Cups Almond Milk (I use unsweetened vanilla)

Pin this post:

Light & Fit Salmon BLT

This is a recipe we got out of Paige's Cooking Light cook book, and can we just say, it's SO delicious! (Especially the sauce :) Paige's Mother-in-law gave her this cookbook, and we highly recommend it. It has so many great recipes, all healthy and low in calories!

This open-faced salmon BLT has been one of our favorites from it so far. It only has 330 calories, and has 25 grams of protein! Here's how to make it:

Prep time: 5 minutes, Cook time: 10 minutes

Ingredients:

-8 slices precooked hickory-smoked bacon

-2 (6 ounce) salmon fillets (about 1 inch thick)

-1/4 teaspoon freshly ground black pepper, divided

-Cooking spray

-1/4 cup light mayonnaise

-1 1/2 tablespoons fresh lemon juice

-1 1/2 teaspoons minted fresh dill

-4 (1 ounce) slices diagonally cut French bread, toasted

-4 green leaf lettuce leaves

-4 slices tomato, cut in half

1. Preheat broiler.

2. Cook bacon as desired or according to package directions (we make it on the stove).

3. While bacon cooks, sprinkle fish with 1/8 teaspoon pepper. Place fish, skin sides down, on a broiler pan coated with cooking spray. Broil 10 to 13 minutes or until fish flakes easily when tested with a fork. Remove skin from fish, and cut fish into chunks.

4. While fish cooks, combine mayonnaise, lemon juice, dill, and remaining 1/8 teaspoon pepper. Spread 1 tablespoon dill mayonnaise on each French bread slice; top with 1 lettuce leaf, 2 tomato halves, 2 slices bacon, and one-fourth of salmon chunks. Drizzle remaining dill mayonnaise evenly over each sandwich.

Click Here for Printable Recipe

Enjoy!

Sidney's Skinny Omelet

As we've mentioned before, Sidney is somewhat of a clean-eating fitness guru. Today we're sharing one her favorite healthy recipes. It's SO healthy, and DELICIOUS you won't believe it.

This omelet is also super easy to make…and don't worry about that fancy omelet flipping skill you see in restaurants! 

To make it, you only need a few simple ingredients.

We like to buy three large peppers and chop them all up. You can keep the chopped up peppers in a bag in the fridge, and use them to make this recipe throughout the week!

To make the omelet, start by whisking together three egg whites and one egg yolk, and a little salt, pepper, & any spices you choose. Set aside and turn oven to broil.

 Then add a little butter or olive oil to your pan, and sauté your peppers (or vegetables of choice) for a few minutes. Add some spinach and sauté until it begins to wilt. 

Pour your egg mixture over the vegetables, and use a spatula to pull the center toward the edges to create even cooking (see video below). Cook over medium/high heat for a few minutes. 

Then stick your pan under the broiler, and let the top of the omelet cook until done. Add some Cholula hot sauce for a little kick and viola! 

Check out the video below for a quick tutorial on how to do this.

Enjoy!

Strawberry Chicken Salad

First of all, HAPPY EASTER! Here's a little recipe that's perfect for today. Strawberry Chicken Salad...it's our go-to spring/summer salad and is seriously so yummy!

Start by making the dressing. Homemade dressings are the best!

This dressing is really easy because you just throw everything in a blender :) Add 2 cups of oil, 1 cup of sugar, 2/3 cup white vinegar, 1 1/4 cup chopped red onion, 1/2 tsp. salt, and 2 tsp. dijon to your blender and mix. It makes a pretty pink dressing that you'll set aside for later. This makes enough dressing for a very large salad. 

Next you'll want to make your candied pecans. Some people buy the pecans already candied, but they're so easy to make yourself!

Just put the nuts in a pan, add some sugar (no measurements needed) and stir over medium heat until the sugar is melted and the pecans are coated. Be sure to keep a close eye on them because they will burn fast! Once they're done lay them out on a pan or plate to cool before breaking them apart.

Now it's time to put together your salad! Add your lettuce, sliced strawberries, feta cheese, pecans, and chicken (our Perfect Chicken goes great in this salad, but this time we just shredded a pre-cooked rotisserie chicken to save time). 

Pour your dressing over the salad and serve!

We promise you'll get lots of compliments on this delicious summer salad :)

Strawberry Chicken Salad Printable Recipe

Salad Bowl found HERE.

P.s. We love Easter and wanted to share a little bit about what we believe. Check out the video below.

Thanks for reading!

The PERFECT Chicken

This is a recipe we've been planning on sharing with you for a while now. We first came across this chicken recipe on Pinterest, and it was literally called "The Perfect Chicken". We can no longer find it ANYWHERE online, and our pin won't take us to it anymore, but luckily it's so simple and we make it so often that we have the recipe memorized :)...and we wanted to #sharethegoodness and get it back out there in the Pinterest world!

This chicken tastes so good just by itself, served with our famous salad, or with corn on the cob and watermelon in the summer (mouth.watering). But we also love making this whenever a recipe calls for chicken - in pastas, soups, enchiladas - you name it! The flavoring from the spices is just perfect, and this chicken, when cooked correctly, is so juicy and yummy, and can pretty much go in/with anything. This is also a super low calorie way of cooking chicken...win-win!

Ingredients:

1 tsp. of each spice below (if you like spicy things, you can add in 1/4 tsp. of cayenne too!)

Mix spices together in a small bowl

Coat chicken evenly

Cook chicken in a pan or dutch oven on the stove in a couple tablespoons of olive oil. Cook about two minutes on each side.

Next, put all the chicken back in an oven safe pan (this is where our Le Creuset dutch ovens come in handy), and cook in the oven at 350 for twenty minutes. 

Perfect Chicken Printable Recipe

If you try this recipe, we'd love to hear how you liked it/any changes you made! Your comments make our day :)

Enjoy!

Most DELICIOUS and HEALTHY Salad Dressing…Ever :)

Our mom and grandma have been famous for their salads for as long as we can remember.

 It's all about the dressing...and today, we're sharing the recipe! It's SO simple and easy, not to mention completely healthy! Every time we serve this salad we get tons of compliments.

All you need is olive oil, seasoned rice vinegar, Mrs. Dash seasoning (you can either use original or table blend), and half of a lemon, or a whole lemon if you're making a larger salad.

Really, the options are endless for what you're putting in the salad. This dressing tastes great with any combination of vegetables or fruit. For this one we used tomatoes, carrots, broccoli, and feta cheese. It's also great with cucumbers, green onions, or really anything! One of our favorite ways to use this dressing is to make the salad with apples, feta cheese, and candied pecans! When making the salad with fruit, we like to use the table blend Mrs. Dash, but the original works great too!

And here's a little video tutorial of how to do the dressing. There are no measurements, just drizzle and sprinkle everything on. Don't forget to squeeze in your lemon juice! So delish :)

Enjoy :)